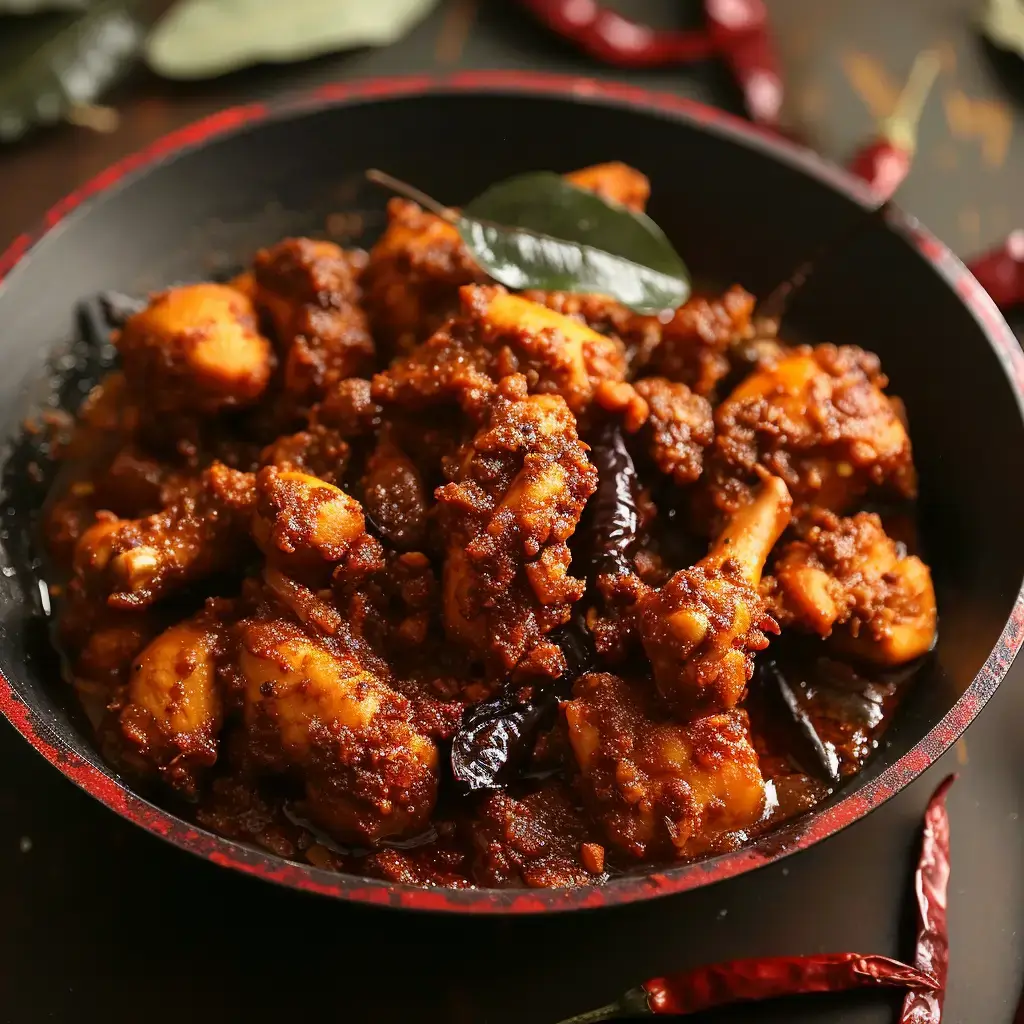
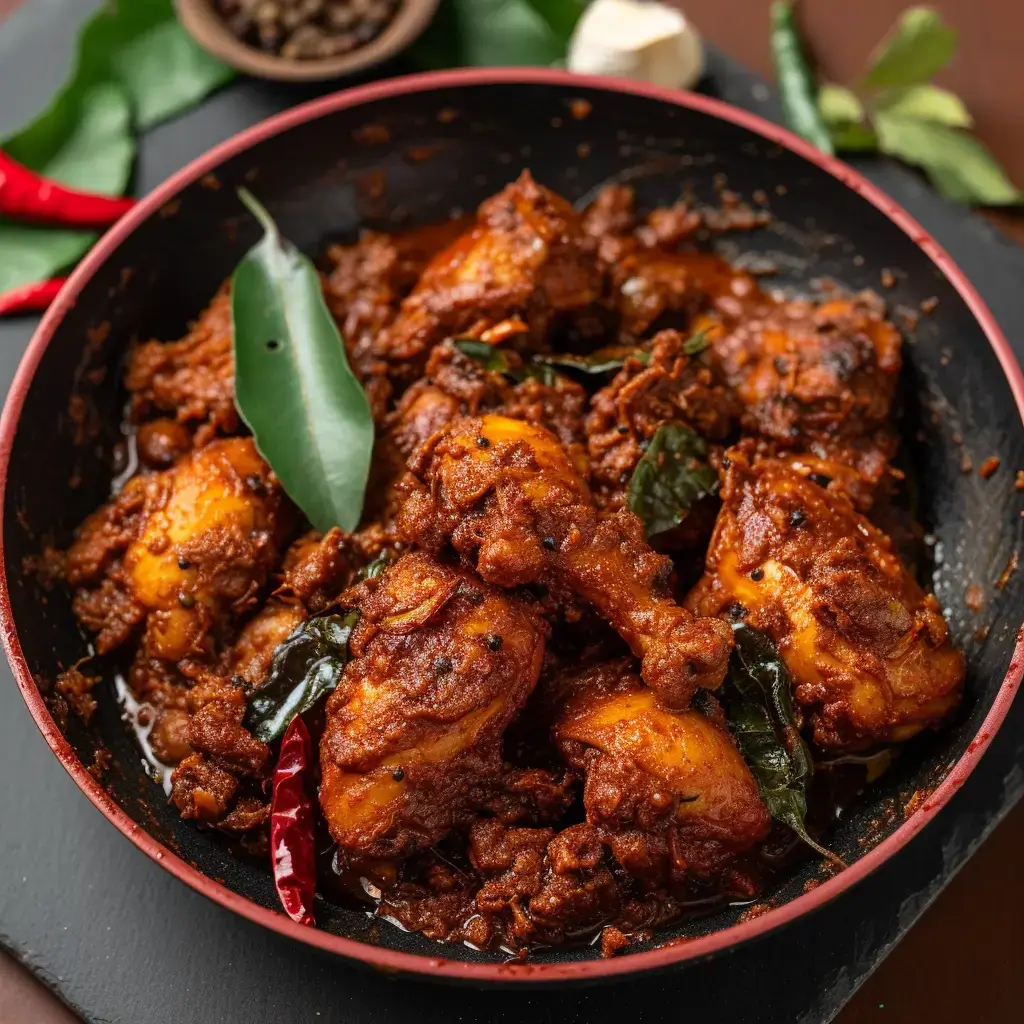
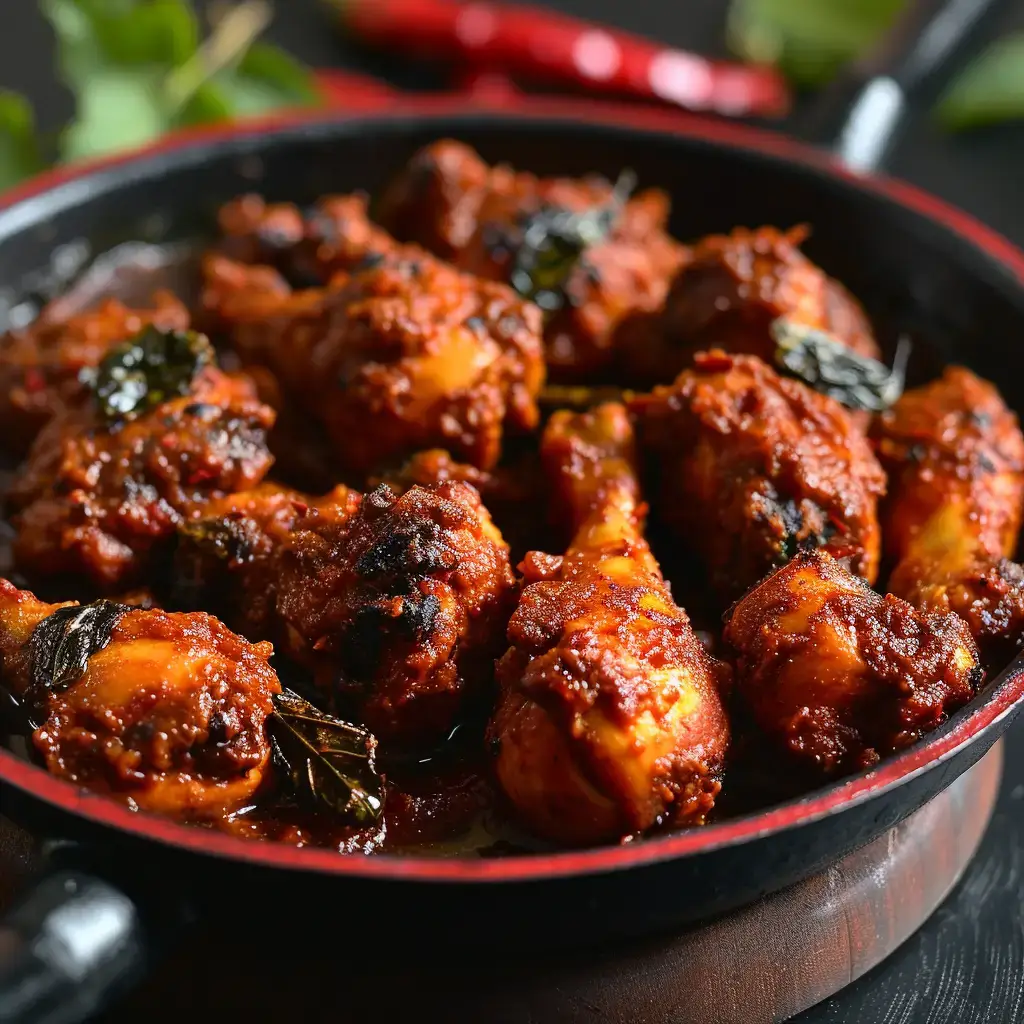
Let’s talk about Chicken Ghee Roast, a delicious dish that’s bursting with flavor. This dish comes from the southern part of India, and it’s something you’ll definitely enjoy.
Chicken Ghee Roast is special because it’s made with tender chicken pieces and a mix of aromatic spices. The magic ingredient here is ghee, which is like a rich and flavorful butter. When everything comes together, you get a dish that’s both spicy and tasty.
In this blog, I’ll share more about Chicken Ghee Roast—where it comes from, what you need to make it, and why it’s loved by so many. It’s a simple and delightful dish, so let’s dive into the world of Chicken Ghee Roast together!
Chicken Ghee Roast Recipe
Equipment
- A heavy-bottomed pan or skillet
- A blender or spice grinder
- Mixing bowls
Ingredients
- 1 kg Chicken cut into medium-sized pieces
- 3-4 tablespoons Ghee (clarified butter)
- Salt to taste
- 1 tablespoon Lemon juice
- 1 cup Yogurt beaten
- Fresh curry leaves for garnish
For the Marinade:
- 1 tablespoon Ginger-garlic paste
- 1/2 teaspoon Turmeric powder
- 1 teaspoon Red chili powder
- Salt to taste
For the Masala:
- 8-10 Dry red chilies (Byadagi chilies for authentic flavor)
- 1 tablespoon Coriander seeds
- 1 teaspoon Cumin seeds
- 1/2 teaspoon Fenugreek seeds
- 6-8 Black peppercorns
- 3-4 Cloves
- 1- inch piece Cinnamon
- 2 tablespoons Tamarind pulp
- 6-8 Garlic cloves
Instructions
Step 1: Marinate the Chicken
- Combine the chicken pieces with ginger-garlic paste, turmeric powder, red chili powder, salt, and lemon juice. Mix well, ensuring each piece is coated with the marinade. Let it rest for at least 30 minutes to 1 hour, allowing the flavors to infuse.
Step 2: Prepare the Masala
- In a dry pan, lightly roast the dry red chilies, coriander seeds, cumin seeds, fenugreek seeds, black peppercorns, cloves, and cinnamon until aromatic. Be careful not to burn the spices. Once cooled, blend these roasted spices along with tamarind pulp and garlic cloves to make a fine, thick paste. This masala is the heart of Chicken Ghee Roast, packing in all the flavors.
Step 3: Roast the Chicken
- Heat ghee in a heavy-bottomed pan. Add the marinated chicken and cook on high heat until the chicken pieces are browned on all sides. This step is crucial for sealing in the juices and imparting a rich flavor from the ghee.
Step 4: Combine Chicken with Masala
- Lower the heat, and add the prepared masala paste to the chicken. Mix well, ensuring the chicken pieces are thoroughly coated with the masala. Add a little water if necessary to prevent the masala from burning. Cook until the chicken is tender and the masala clings to the pieces, forming a thick coating.
Step 5: Finish with Yogurt
- Once the chicken is cooked and the masala is thick, add beaten yogurt to the pan. Stir well and cook for an additional 5-7 minutes on low heat until the yogurt is well incorporated into the dish, giving it a rich and tangy flavor.
Step 6: Garnish and Serve
- Garnish with fresh curry leaves, and serve hot. Chicken Ghee Roast is best enjoyed with Indian bread like neer dosa, roti, or plain steamed rice, making for a hearty and satisfying meal.
Tips and Information
Tips and Information
- Ghee: Don’t skimp on the ghee, as it’s integral to the flavor and richness of the dish.
- Byadagi Chilies: These chilies are known for their deep red color and mild heat, contributing to the dish’s vibrant color without making it overly spicy.
- Cooking Time: Adjust the cooking time based on the size of the chicken pieces to ensure they’re cooked through but remain juicy.
FAQs
Can I use boneless chicken for this recipe?
Yes, boneless chicken can be used, but adjust the cooking time as it tends to cook faster than bone-in pieces.
How can I make this dish less spicy?
Reduce the number of dry red chilies in the masala to control the spice level.
What can I use if I don’t have Byadagi chilies?
You can use Kashmiri red chilies as a substitute for Byadagi chilies to achieve a similar color with mild heat.
Can I prepare the masala in advance?
Yes, the masala can be prepared in advance and stored in the refrigerator for 2-3 days or frozen for longer storage.
Is there a dairy-free alternative to yogurt in this recipe?
For a dairy-free version, you can use coconut milk or a dairy-free yogurt alternative to add creaminess to the dish.